
Foundation Paper Piecing
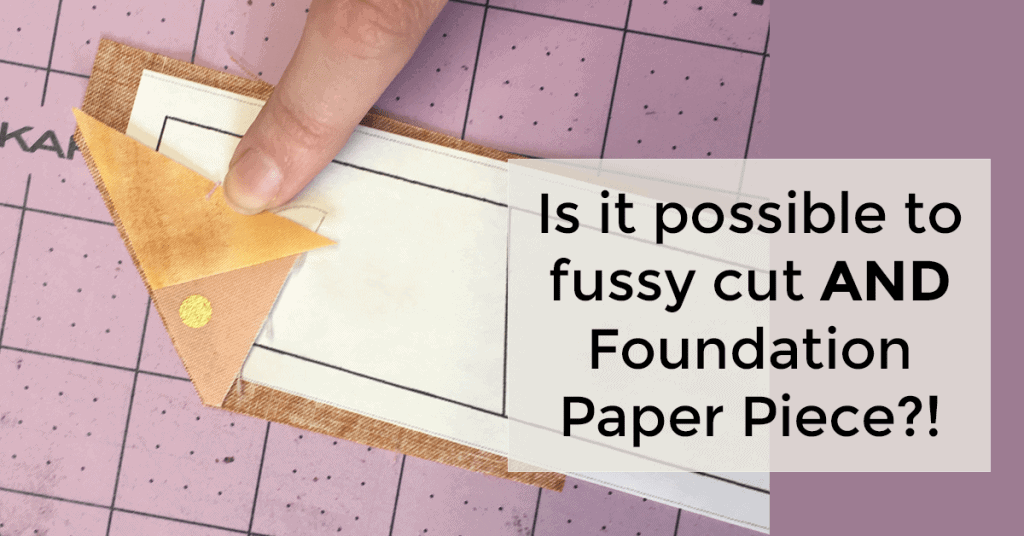
How to Fussy Cut & Foundation Paper Piece
Apr
ou might think that foundation paper piecing is limited…you can’t fussy cut  …you can’t use directional fabric
  …and there is SO much waste with paper piecing!
Or are these all myths.
Myth! They are all myths!
In a group a while ago someone asked if you could fussy cut with paper piecing. “No,” someone said, “You can with ENGLISH paper piecing, but not FOUNDATION paper piecing.” Challenge accepted! I love a good challenge! I love when people say, “You can’t do that!” Wanna bet?!
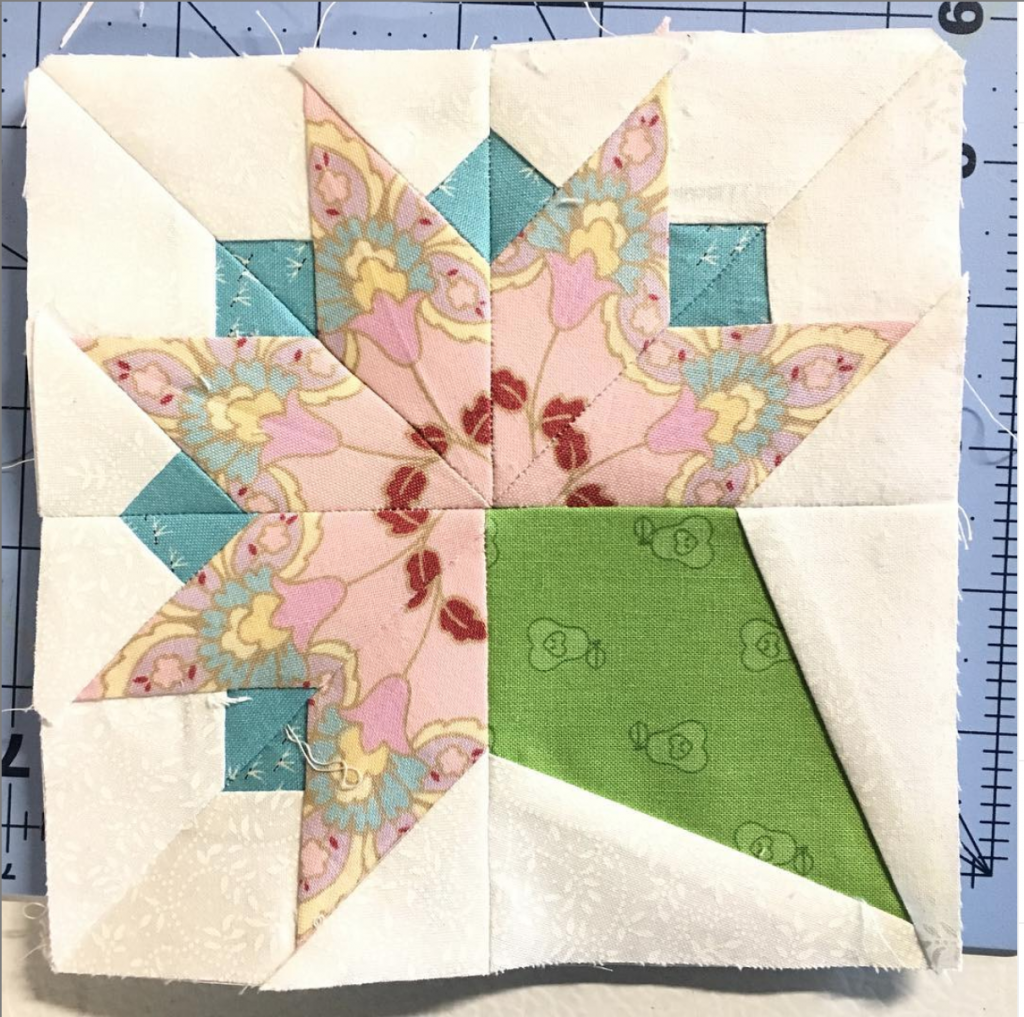
I started experimenting…it started with folding over the seam, and pressing…and lots of trial and error. But the floral parts in the block were ALL fussy cut and foundation paper pieced! 
Truth be told, this method is ridiculously cumbersome…not really accurate, and not something that I could teach in a cohesive way. Your eyes would cross, and you’d move on!
You may think, “Oh! She STARTED with the fussy cut block.” NOPE. The fussy cut part were the 3rd step.
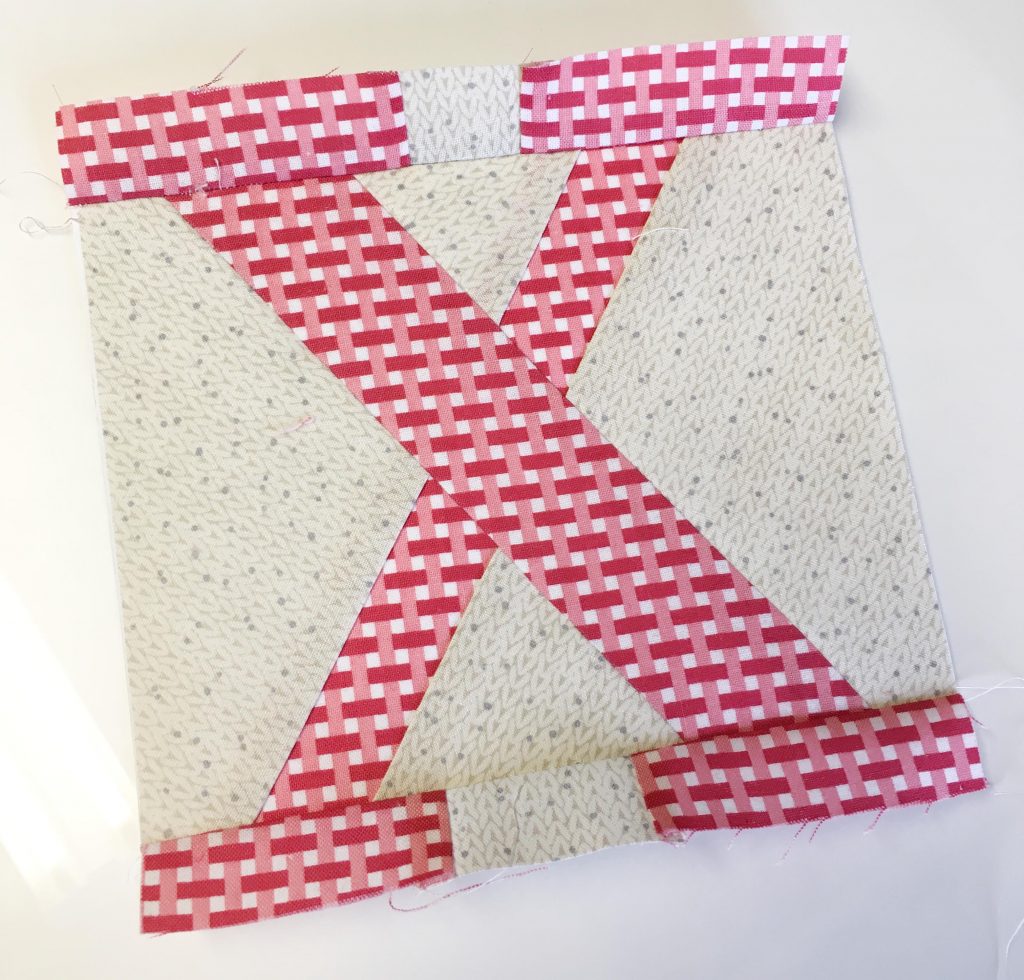
It wasn’t until I bought a lightbox did I discover the ease of fussy cutting…You won’t need a lightbox if you want to use this method to maximize your fabric (which is how I normally use this technique/hack), but if you want to use directional fabric (as in the X pattern), you will benefit from using a light box. I have a video of how to make a license plate for the Vintage Airstreams using a lightbox. (I really drug my feet in purchasing a light box…I mean, it’s a LOT of money!! But I use it nearly every day – money well spent!!!).
The way I teach FPP (foundation paper piecing) is the same way I cut and piece. I cut my fabric into manageable strips; generally these are the width of the template I’m sewing. I hope this will make sense as I show you photos.
The strips of fabric have all been cut to slightly wider than the template. I over cut my template papers, and over cut the fabric to avoid shifting.
Step 1: The way I teach FPP (foundation paper piecing) is the same way I cut and piece. I cut my fabric into manageable strips; generally these are the width of the template I’m sewing. I hope this will make sense as I show you photos.
The strips of fabric have all been cut to slightly wider than the template. I over cut my template papers, and over cut the fabric to avoid shifting.
After I sew 2 pieces together, I always trim that seam to .25″.
You may notice that my template is face up, and my fabric is FACE DOWN! Normally, when you cut fabric, you’d cut it face up…it’s normal to do this, because the next step is to put right sides together. However, with this method, you want to get in the habit of cutting FACE DOWN! You will still sew with right sides together, but you need to cut with the wrong side up. I will tell you when to flip the fabric right sides together. 🙂
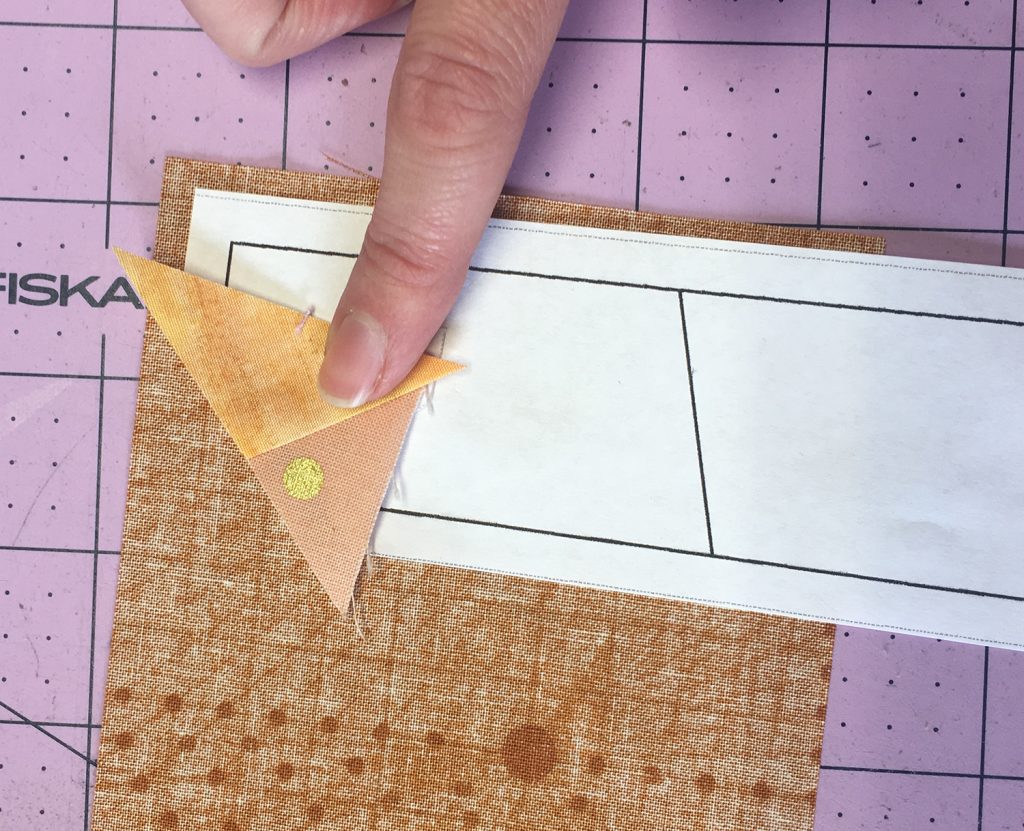
Step 2: I always, always, always keep the template with the sewn part away from me, and the next steps toward me. I think you’ll find that doing this will alleviate any mistakes.
With the template sewing side up, folded over the part you’ve just sewed. Flip out the 1/4″ seam.
Your fabric underneath needs to fit, or extend beyond the template, and the part that you previously stitched.
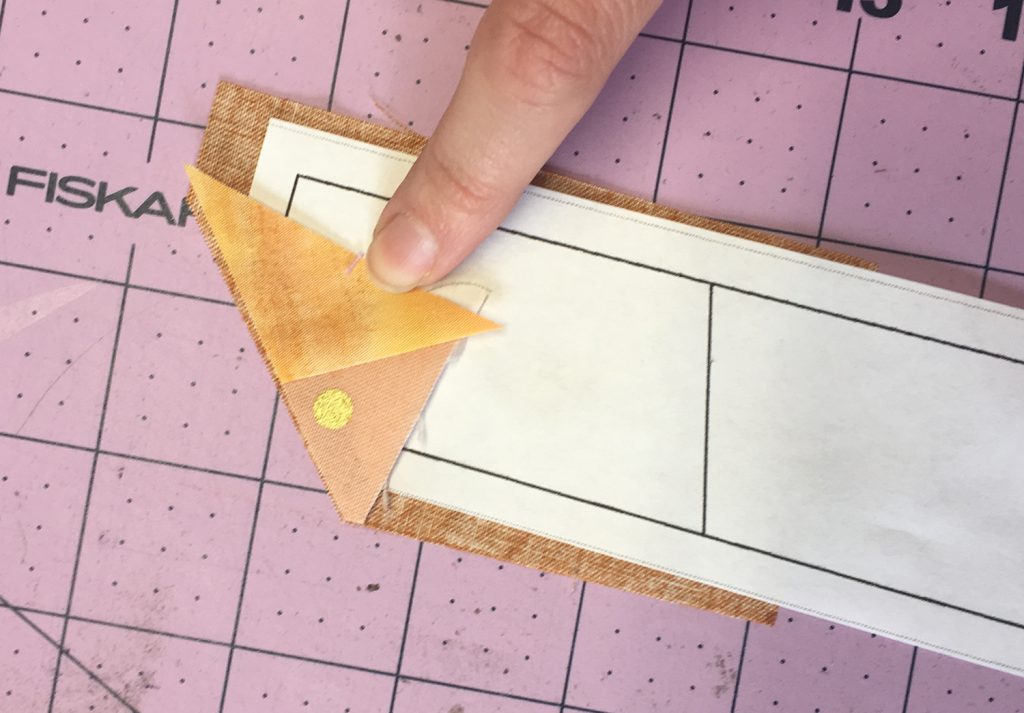
Note where you need to cut, move your template so you don’t accidently cut anything. Then cut.
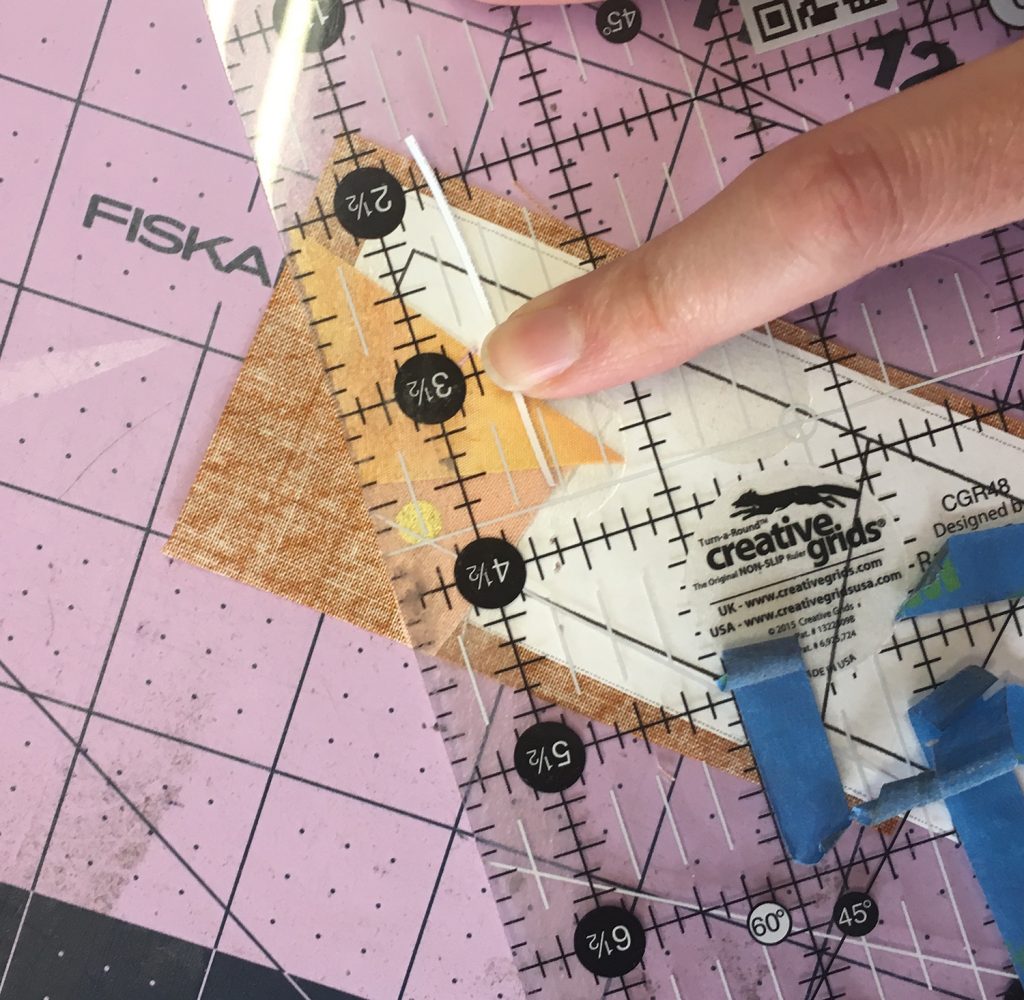
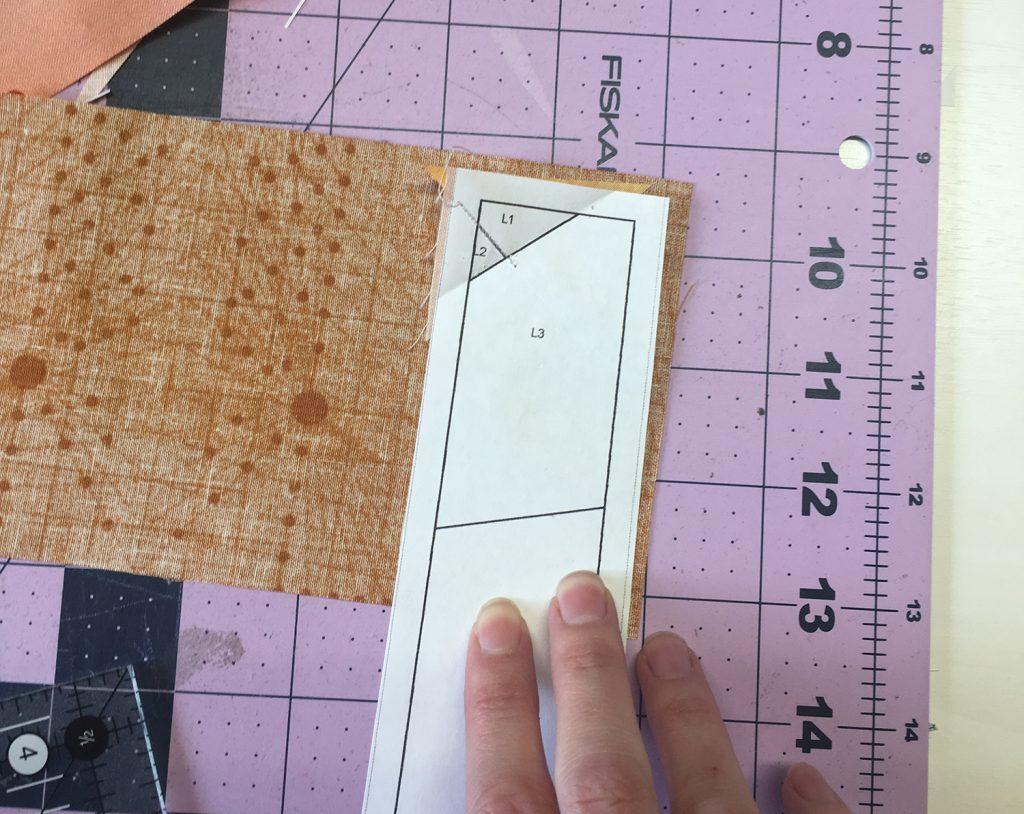
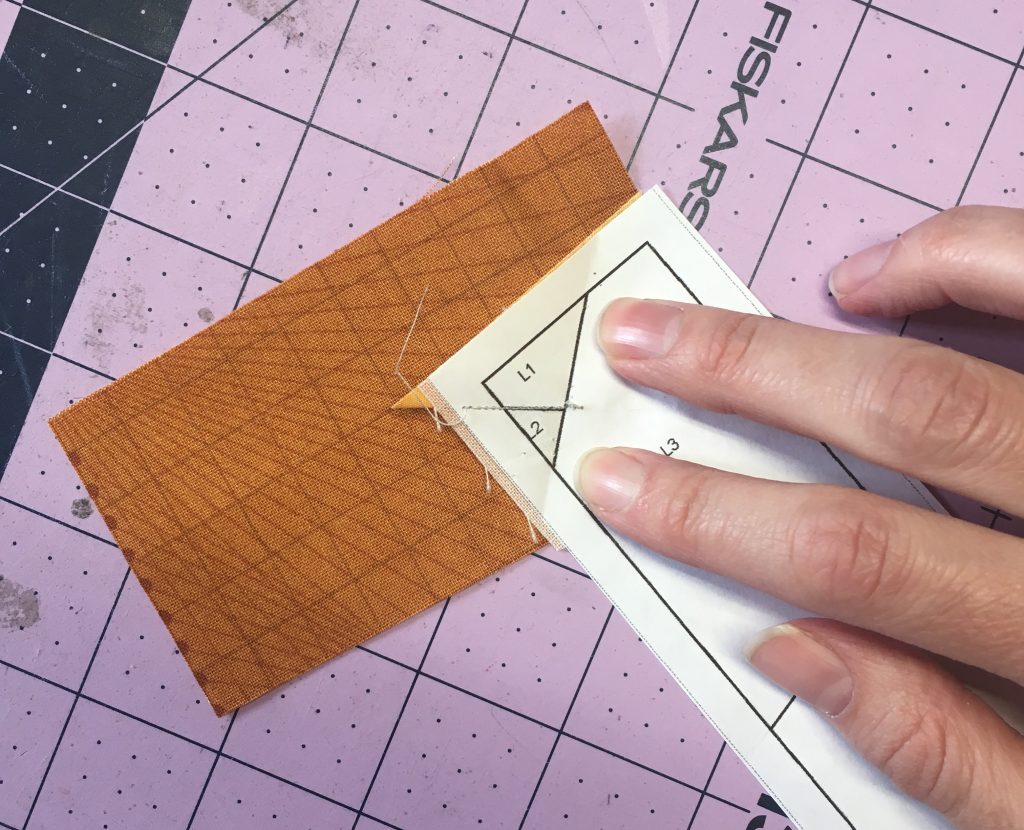
Step 3: Make sure that your fabric is still face down, and your template is face up. Center your template on the cut fabric.
Grab your favorite ruler, and line the edge of the ruler up with the edge you flipped over. Be sure that you aren’t cutting off any fabric on the fabric you sewed (attached to the template)
Keeping the template and the ruler where they are, bravely cut. I know this is a crazy method, but you’ve got to trust me that it’ll work out. (PS – this is a Creative Grids ruler with some grips underneath. It helps keep the template in place. IF you had shifting…read on and see if you can use it, or revisit steps 1-3. Alternatively, you can mark the side of the ruler with a water soluble marker, then move the template, cut, etc.
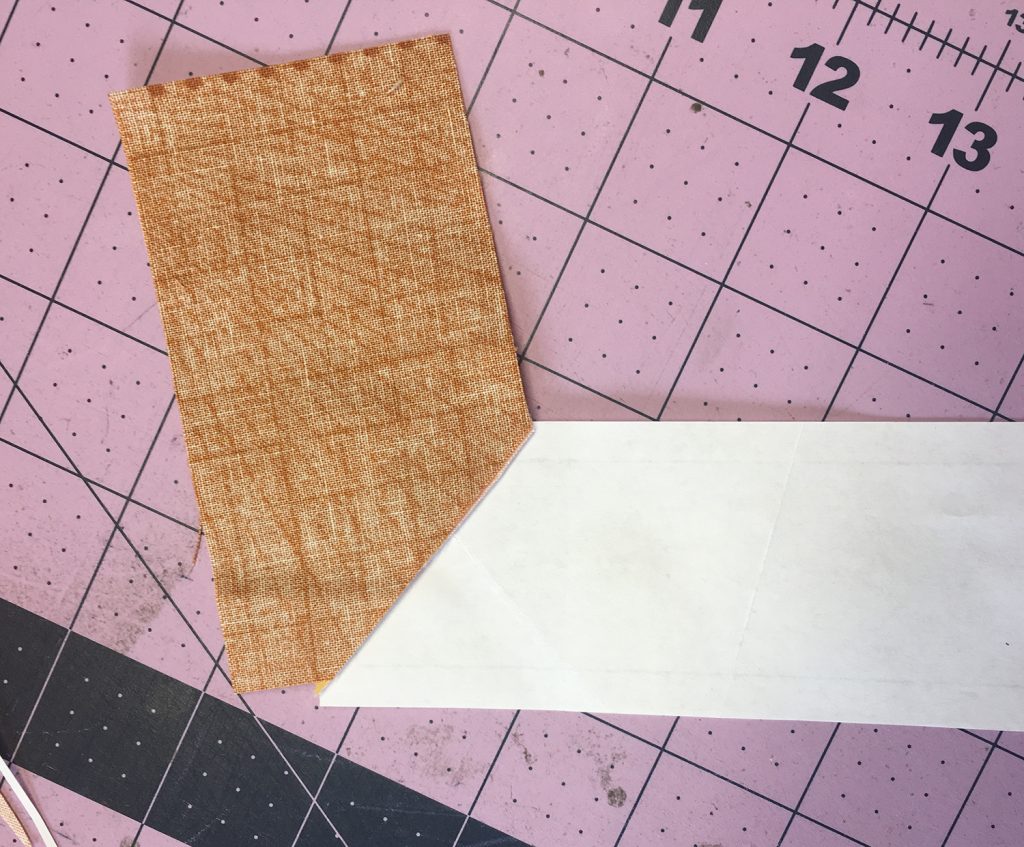
This is what you should have after you cut the face down fabric.
Step 4: This is the step where we put the right sides together.
Flip your template face down, and line up your fabric with raw edges matching. The fabric will be cattywompus to the template. So long as your fabric is in the middle of the sewn part of the template, and the raw edges match, you should be fine. It’s always a good idea to pinch along the sew line and flip the fabric over, or pin and flip, before sewing just to make sure that the new fabric will go where you want it. As you try this method, it will become more familiar and you’ll have a better sense of placement.
Step 4 continued: This is what the front side looks like. I find that it’s easier to place the fabric on the template as shown above, then flip everything over, rather than trying to fiddle with everything from the front of the template.
Put a pin in the template and fabric layers. (I’m a big fan of pins!!)
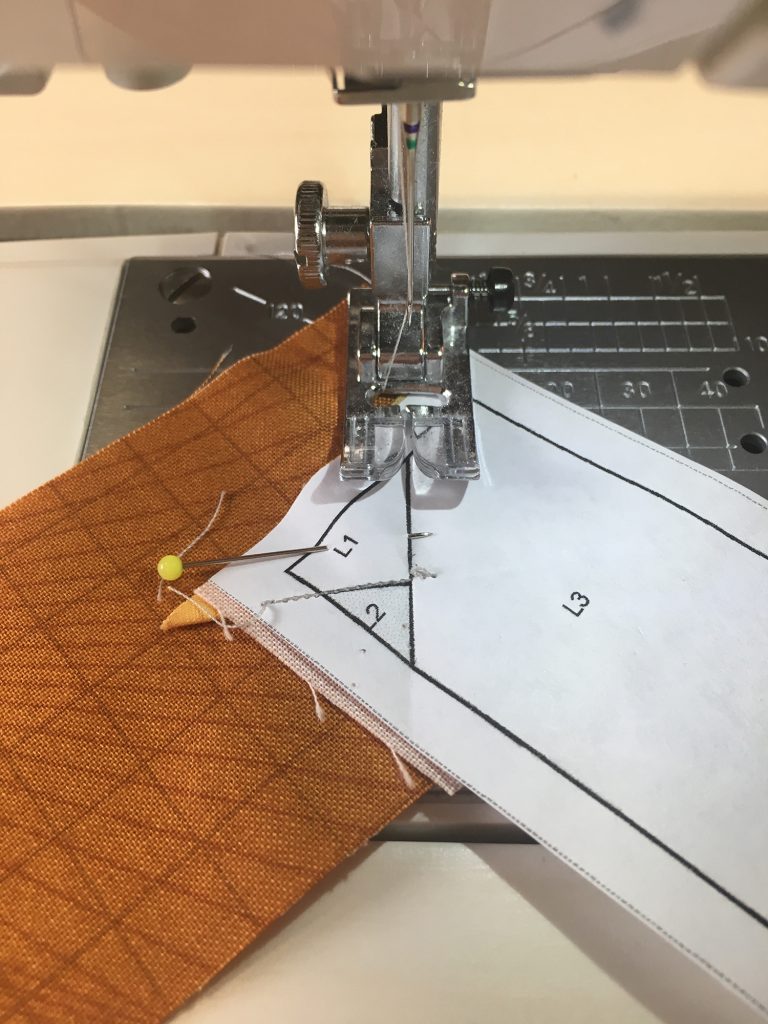
Step 5: The moment you’ve been waiting for: SEW!
If you’re nervous about how this is all going to work out, increase your stitch length to a basting stitch, to baste in place and make sure it’s where you want it. If it’s good, reduce your stitch length and sew. If not, you can easily remove the stitches without compromising the paper.
![]()
Step 6: The moment of truth. If you’re reading this, you may be putting undo pressure on yourself. It may seem stressful, but it’ll work out! I promise!!
If the fabric is where you want it, give it a press, and you’re ready for the next seam!
My order of operations, as it were:
Sew two pieces together.
TRIM. (In caps because if you trim after you press, you risk cutting into the fabric you just sewed on. DOH! Ask me how I’ve discovered this. UGH! )
Press.
Fold over template on the next sew line, and trim the fabric to 1/4″ from the fold/sew line.
Line up your next piece of fabric.
Sew.
Trim….press..repeat.
By folding the template and trimming BEFORE I line up the next fabric piece, I find that it makes it easier for me to think about where the edge of the new piece goes. It sort of ‘clears the air’…and there is less to think about. I think of the raw edge as a registration line: FABRIC GOES HERE!
I find that darker fabrics are harder to see through, so knowing where my registration line is, really helps.
do you have a fpp for the 5 star high and low temperature chart Rachel
It’s coming in a few weeks!