
Tutorials
{Free Tutorial} Portable Project Mat
Apr
Last year, after I “outgrew” my original hand stitching on the go pouch/folder/bag, I made one to meet all my needs. It was a trial and error (um, the zipper and bias tape to cover it was the BIGGEST pain in the rear…my nemesis). Perhaps one day I’ll make an easier version…it’s all the zipper’s fault!!!!
This tutorial is an extension of that pouch. It’s like a portable design board, but its purpose is to hold the teeny tiny EPP blocks in place, so I know what the overall design is, and I can grab the next one.
For the Farmer’s Wife quilt, I’d been printing the overall pattern…but that’s a waste of more paper, and really not all that practical when you have small directional pieces.
I hope this pattern is beneficial and useful to you! If you find is helpful (or interesting), please share it with your quilty friends because they’d probably like to make one as well!!
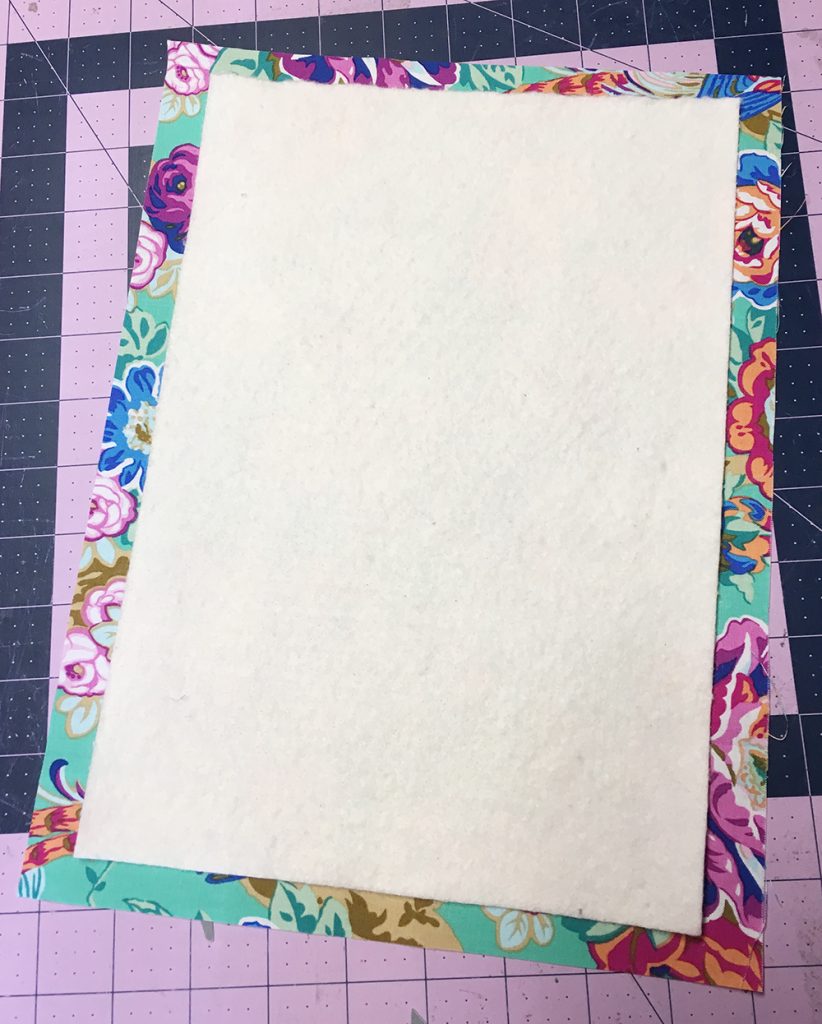
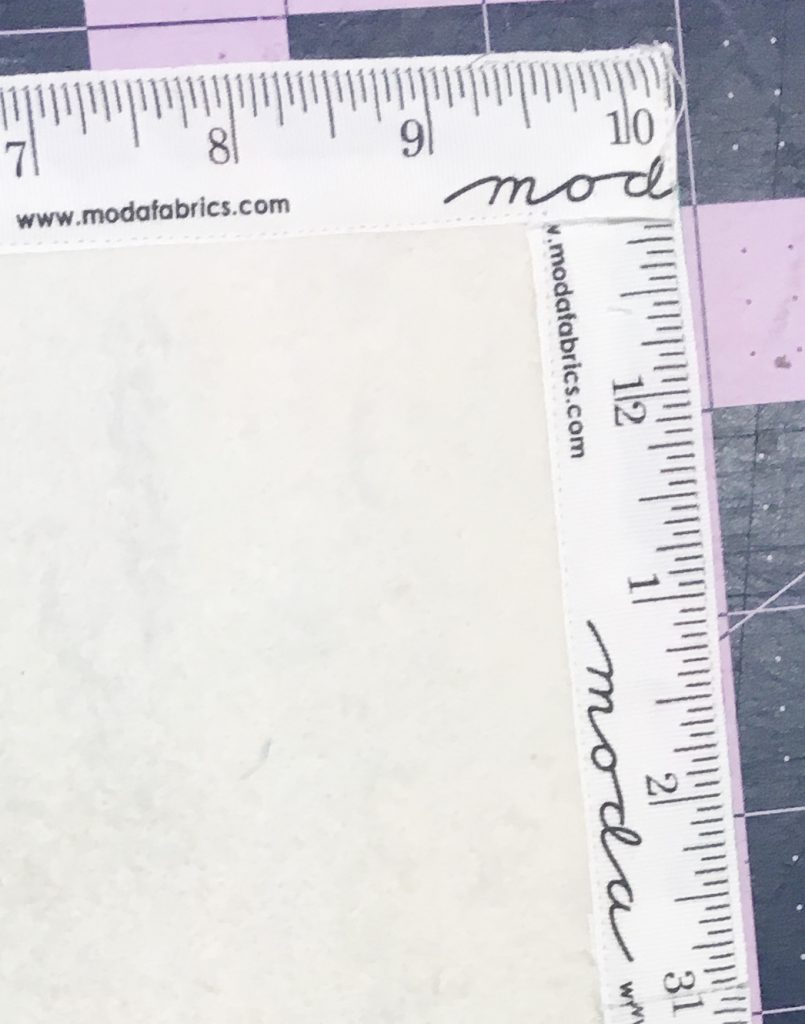
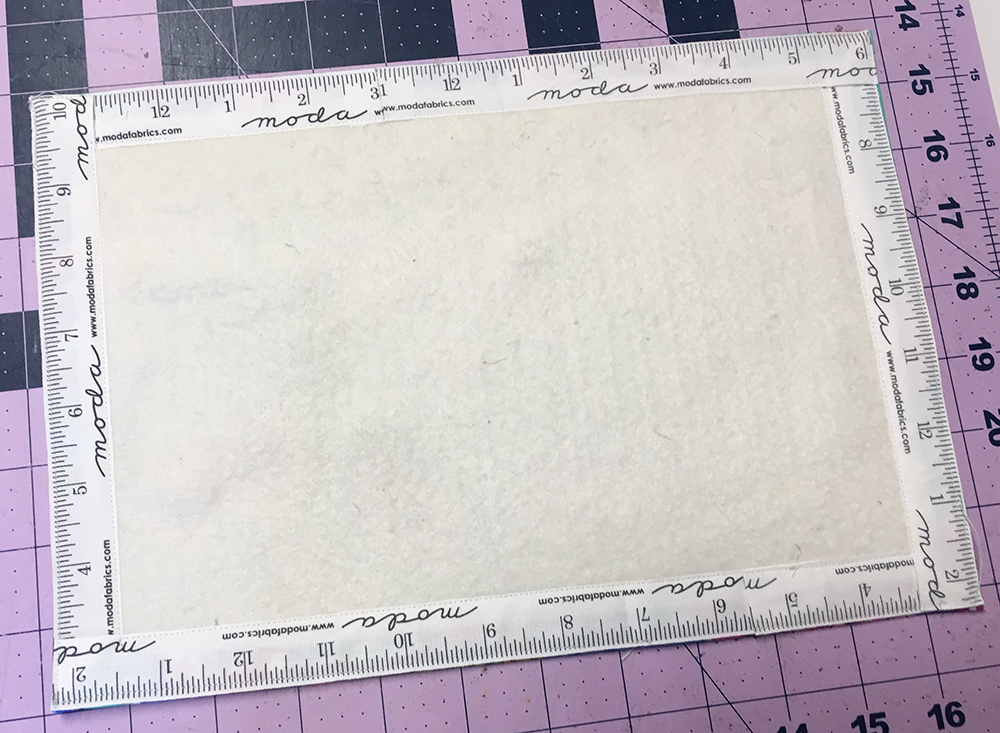
Step 1: Cut a piece of cotton batting to the desired size. I cut mine to 8×10″ (approx). I wanted it to fit inside my sewing pouch.
Step 2: Cut a piece of fabric 1/2″ larger on each side – so this was cut to 9×11″.
Press the fabric to make sure it’s nice and flat.
Step 3: Turn the fabric pretty side down, and place the batting on top.
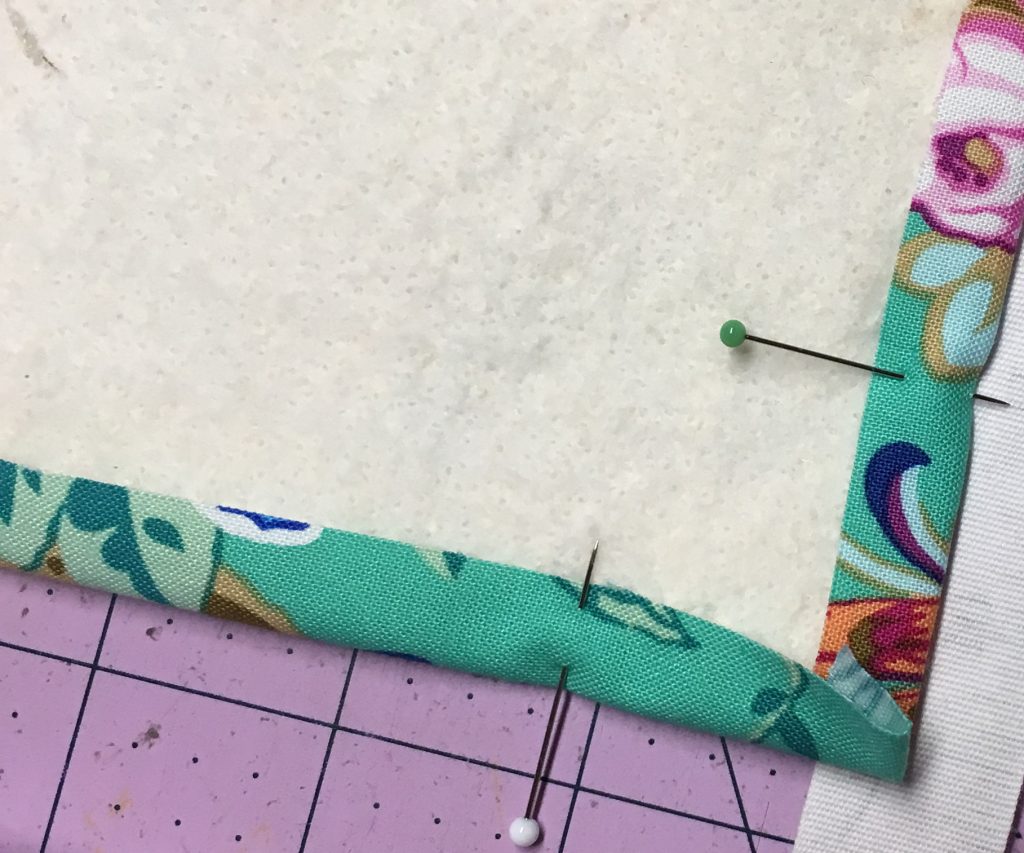
Step 4: Pin the edges over, and lightly press. Stitch the fabric down. In hindsight, I would have basted to easily remove the stitches. I stitched in the middle of the “hem”. No need to turn under twice, as you’ll cover it with ribbon.
Step 5: Starting in the middle of the mat, leaving a 2″ tail unsewn, line the edge of the ribbon with the edge of the seam, and stitch carefully along the outside edge.
When you come within an inch of the corner, fold the ribbon under (like you are folding binding) to create a 90 degree angle. This may take a bit of wiggling.
You can either sew to the edge, and backstitch, and sew off the edge. Or you can turn the corner, and continue sewing.
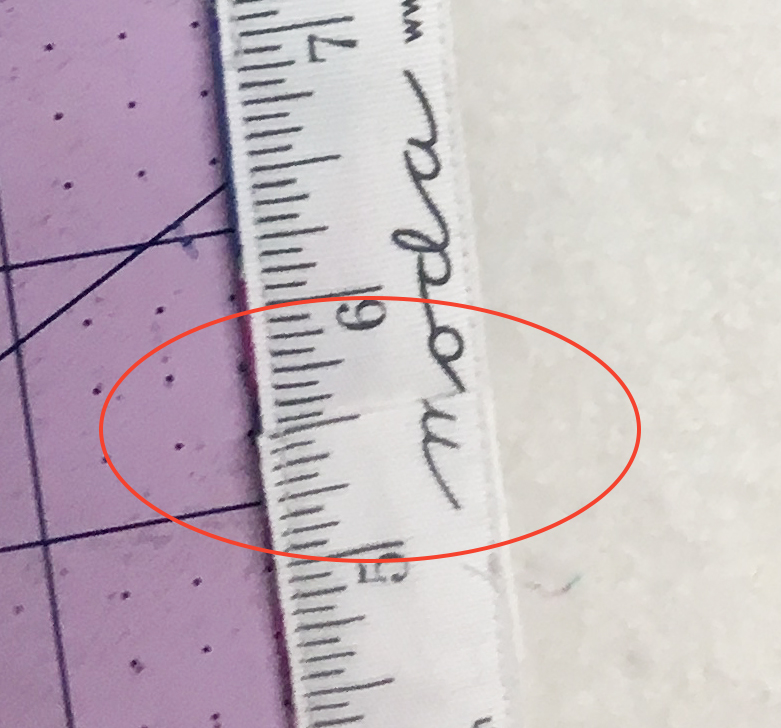
NOTE: I used ribbon that was tied around precuts. I loosely lined up the measurements, and stitched them together to create a longer ribbon (you can see where they were joined…look for the 31  In the end, I didn’t care if it was exact…I love this ribbon and look for any excuse to use it!)
Step 6: This may be more tricky to see, but I cut the ribbon, and tucked it under, about 1/2″, and continued stitching along the edge. Backstitch, and clip your threads.
Step 7: Move your needle position, or your needle, and stitch along the other side of the ribbon.
Taadaa! You’re done!!!! The batting will hold the pieces in place – like a design board. You don’t need any batting spray or adhesive to keep the pieces in place. They WILL move…it’s definitely not permanent.
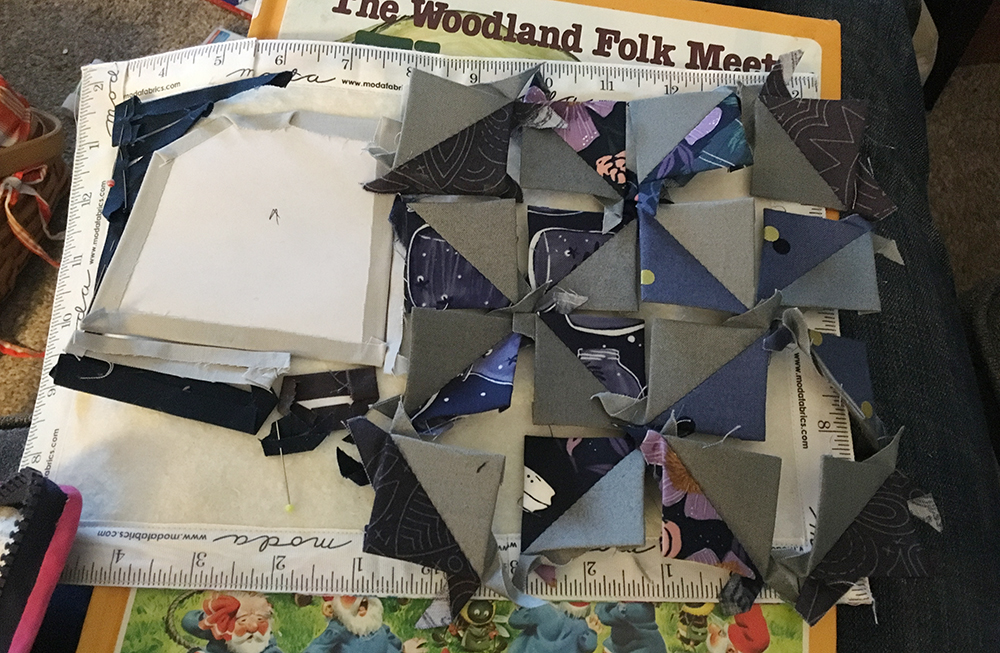
I’ve found that the pieces stay put better if I lay them face down (with the paper and the seams showing).
Here it is in action. I’ve found that if I must have them face up (on
the right), it’s a good idea to separate the 2 sides with a piece of paper (or fabric), otherwise the batting will grab the fabric…then you’ll have pieces all over.
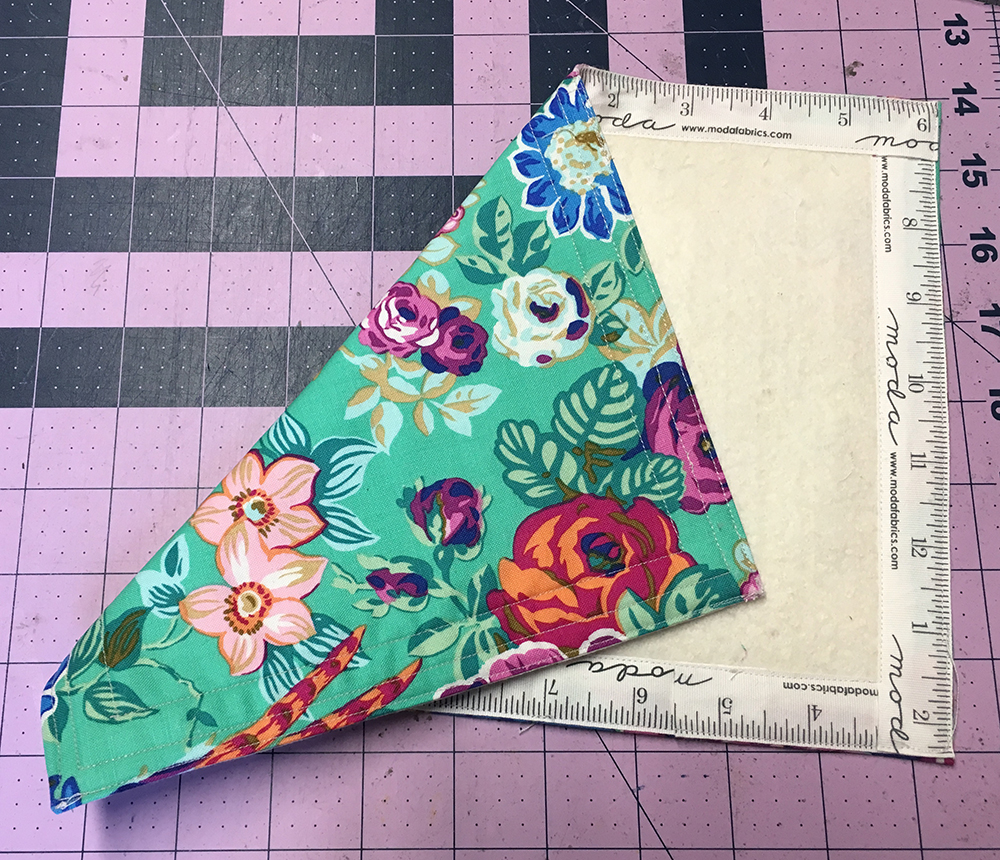
Here’s another look at the front and back.
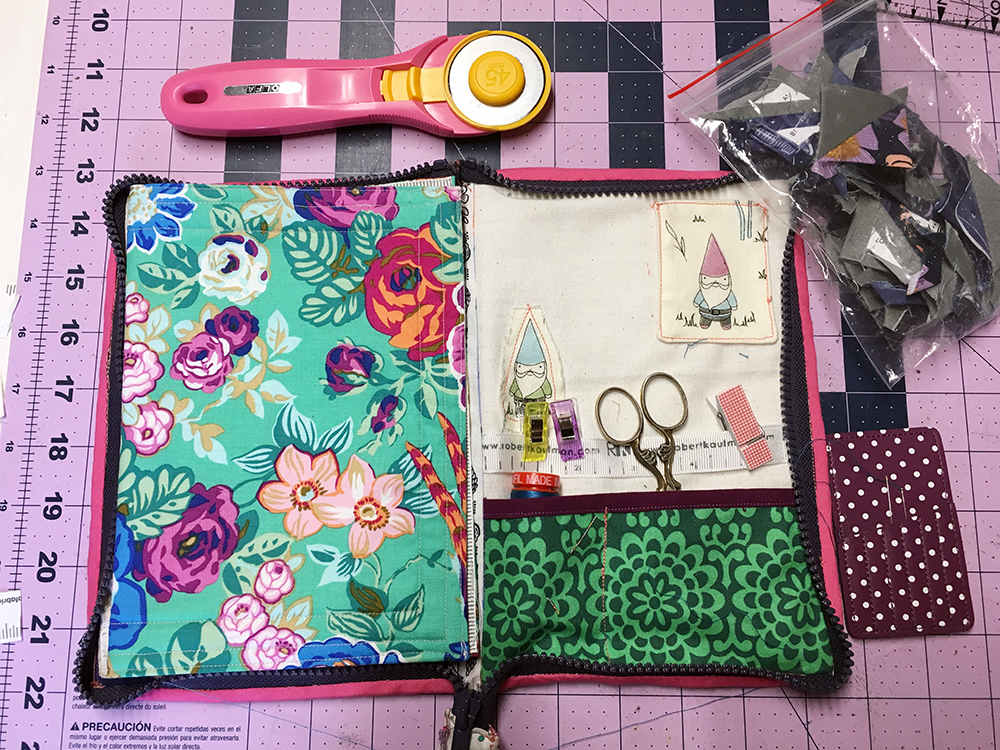
You can see that it fits perfectly within the pouch, and it doesn’t add too much extra bulk, so I can tuck it in my purse for piecing on the go!
I hope you enjoyed this tutorial! If you did, please share it with your quilty friends. If you make this, please tag me, so I can see it! #fionasandwich
Pingback: Paper Piecing Essentials | Fiona Sandwich