
Uncategorized
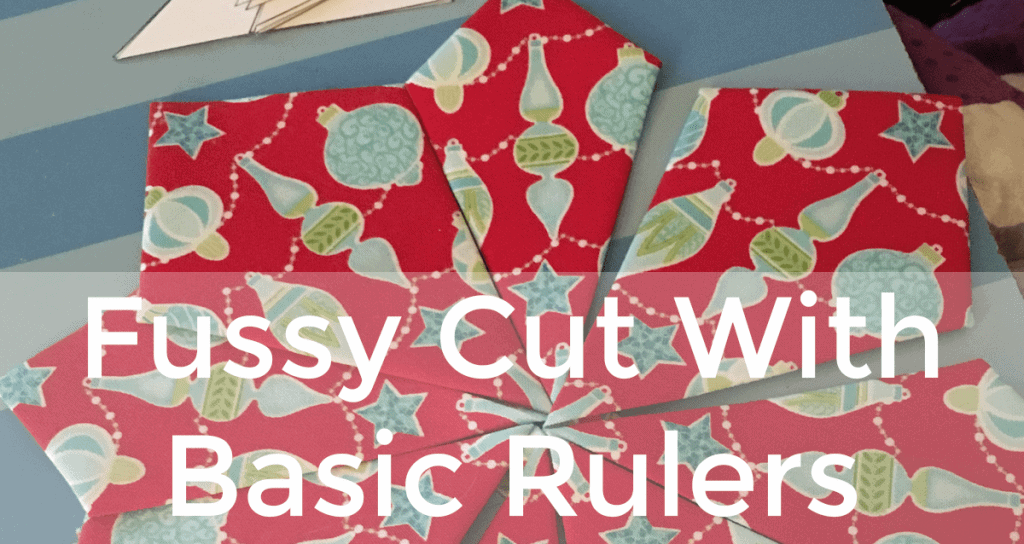
How to Fussy Cut with Basic Rulers
Dec
Is it possible to use regular rulers to fussy cut?
I INSTANTLY fell in love with English paper piecing, but the practicality of project specific templates was enough to drive me batty.
Enter geometry. I’m really not great a math…but LIGHT BULB MOMENT: all shapes have the same angle regardless of the size!! That meant that I could use my regular rulers to fussy cut ANY SHAPE!
Watch this video, and I’ll show you how:
In the video above, I used this pattern
In the section below, I used this pattern: Christmas Star EPP
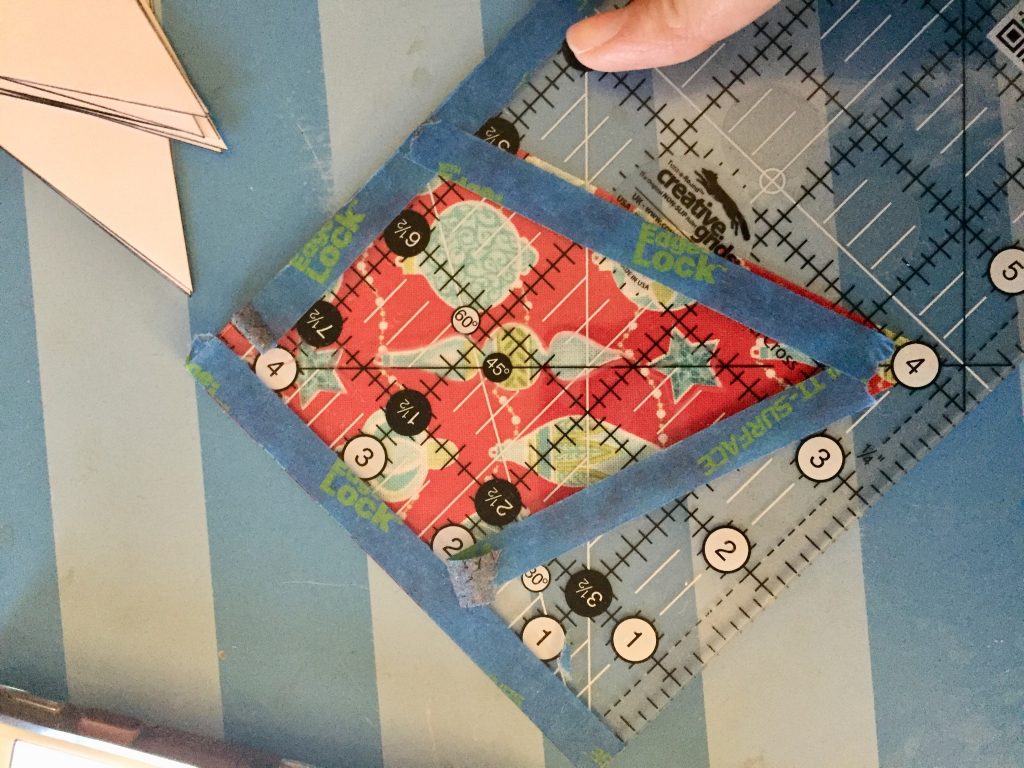
Step  . I mark the design on the ruler (sharpies come off with alcohol!
  ) .
) .
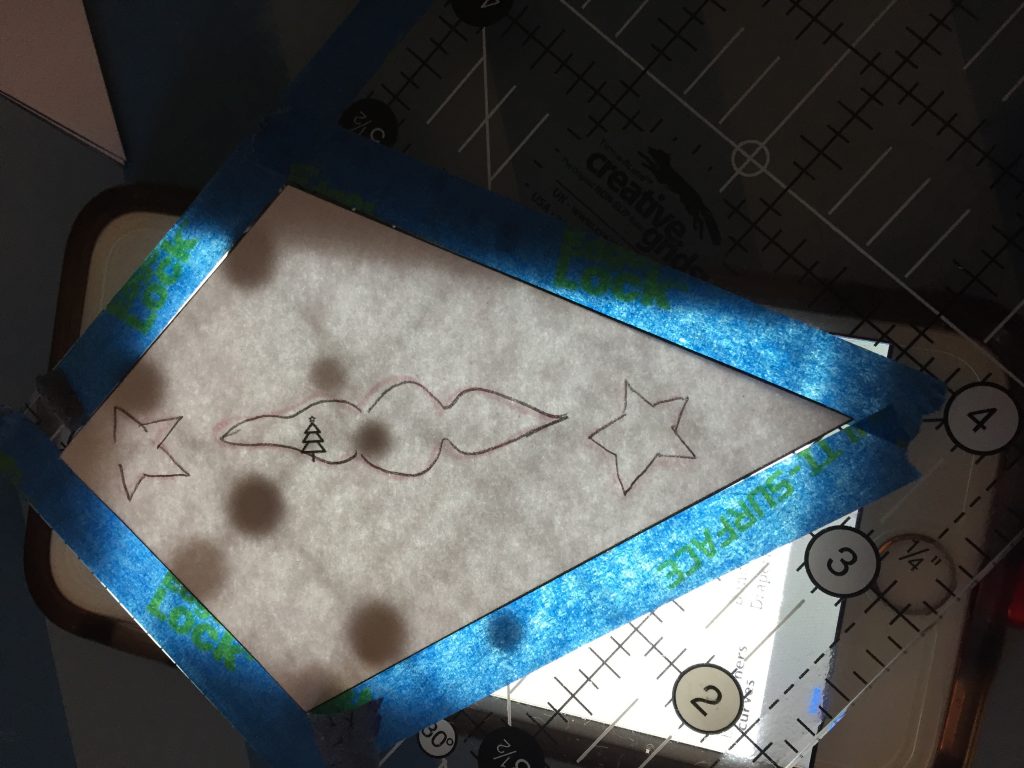
Step  . Download a LightBox app (or use a lightbox like Cricut’s BrightPad), set the ruler on top of your phone, put the paper template on the ruler, and trace your registration marks.
Note: you MAY need to flip the paper template over when you glue  (hilarious side note: one of our ad accounts has a lightbox product. I wrote copy that said “are you still using a window as a lightbox?”…and here I’m using my PHONE!
  irony isn’t lost on me)
Note 2: be sure to mark ALL your fussy cut papers at once. I’ve noticed that frixion pens don’t stick as well to rulers. I prefer sharpies. If you mark them all at once, your registrations will all be the same. I have one of each template that I did a bit later, and one is off a little bit… .
Step  . Put your fabric on the ruler as you’d normally baste, then your paper template. Remember the note about perhaps needing to flip. This fabric had the ornament offset on one side, not an exact mirror. But you’ll be able to see through the paper…it’s not a big deal to glue on the “back”.
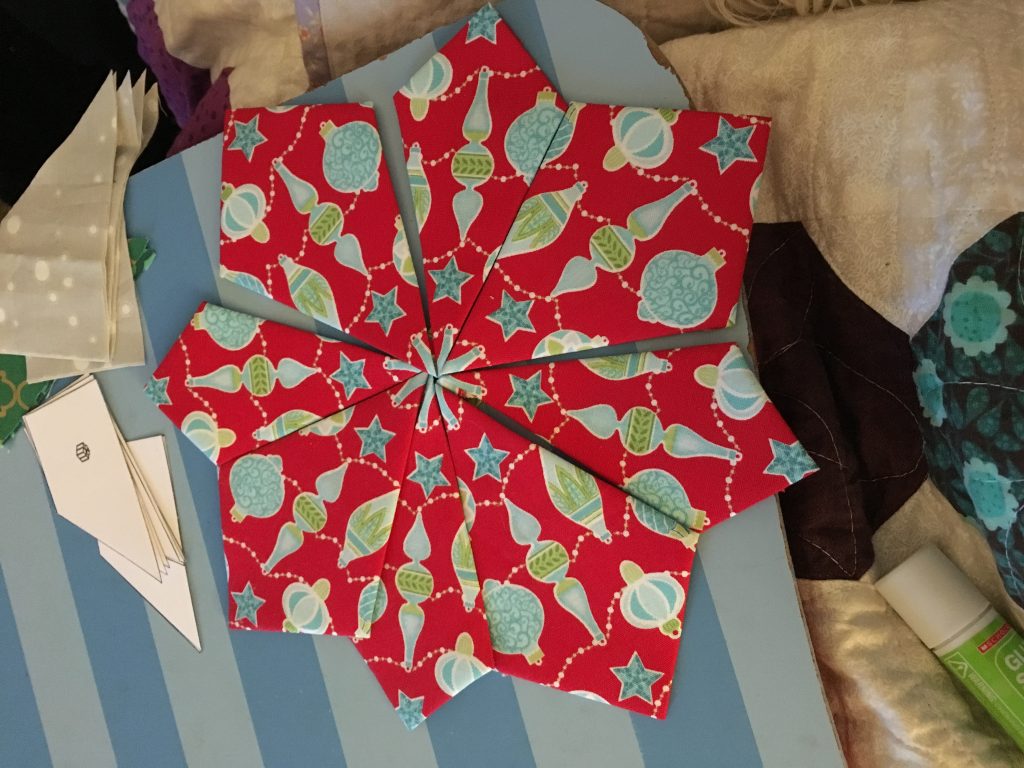
Voilà!!!
You don’t need fancy templates! The rulers you have on hand will work GREAT! I’ll show you, in the future, ways to cut 45 degree diamonds, and wonky shapes with rulers you already have on hand!
Are you inspired? I hope so!!!
Use this versatile pattern to create your own Christmas Star quilt – you don’t even need to use Christmas colors (true be told, red is not my favorite color). I’ve pulled this pattern in turquoise and yellows to make a sunflower quilt for my daughter. I’ll post it first to Instagram, be sure to follow me!

Fiona, er, Rachael, Thank you for blogging about this! I have a method that works for me. Perhaps you will try it out and let others know how easy it is?
First, you need template plastic. I use the cutting mats at Dollar Tree if I don’t have the budget for the real stuff. It’s frosted but it still works. Trace the shape you need onto the plastic by putting it under the plastic first for accuracy. Once you have the shape drawn, use a clear ruler to mark your seam allowance all the way around. Cut out the shape with the seam allowance and use your new template!
Alternatively, if plastic is not available, use thick card. Then use an exacto blade to slice out the shape from within the seam allowance. Cover both sides with clear packing tape to create a window, and cut out the shape with the seam allowance. The sturdier the card, the longer the template will last. @FlamangoDoor
I have been thinking about this as well. I think if a person had the Cricut Maker, it would make it even easier, and reduce any room for errors.
You may check out the freebie on my shop for hexagons and friends…I have a reverse paper template there, for the larger hexies.
Yes, I clicked through from your Instagram post 🙂 so helpful!!